Here are the strawberries covered with netting. One gallon pots partly filled with soil are at the outside edged and in the center of the strawberries to hold the netting up high enough to keep the birds out. Rocks are along the edges to hold the netting down.
Here is an overall picture of the garden. Most everything is covered with something to keep the birds out.
This is the beets and lettuce. The front half is the lettuce that was planted almost 2 weeks ago.
This is the spinach planted the same time as the lettuce that the birds ate. There were only two screens at that time and they got in between them. Replanted the spinach about a week ago.
The quail are digging holes around this pumpkin plant that is never going to get big enough to produce a pumpkin. The plant was partly out of the ground so now there is a broken pallet and rocks around it.
The left side of the tomatoes and tomatillas have rocks between them. The birds were making holes and the water wasn't staying in the wells around the plants.
Here is the right side of the same bed as above.
This bed has the pallets on it to keep the cat out of it. Soon my garlic will be planted here.
Mixed lettuce and Mesclun covered with screen. The pallet is covering the unplanted edge of this bed and helping to hold the screen off of the plants. Bird protection again.
Here are the Brussels sprouts and the broccoli that is bagged to save its seeds. Pallets to keep the birds out. The screen is over the garlic that some critter pulled a few out of the ground and ate a bite out of the tops of the bulbs.
Pallets covering the compost buckets to keep the cat from using it as a bathroom. There is a tomato plant growing in one of the compost buckets. A volunteer.
I have been looking for this copper for several year. It was something my dad had leftover from his construction days. I have heard that squash bugs don't like to walk over copper. I tried putting pennies around my squash plants in the past, but it didn't seem to do any good. This is about 3 inches wide and seems do be doing the trick. I found one squash bug on the outside edge of one of the plants since the copper has been in place. I did check for bugs daily and used a pair of pliers to pick them off and squeeze them with. I also scraped off all eggs I found. Now I check every 3 or 4 days and have only found that one.
Another squash plant with copper under it. This is supposed to be a year with an abundance of squash bugs. At least that is what I heard from the manager of one of the local nurseries.
Am I seeing things? A critter that can stay! Something must be wrong. I guess this Praying Mantis doesn't know this garden has been the home for unwanted guests this year. He stays in with the beets. This is the second time I have watered and chased him up onto the screen. Welcome Praying Mantis!
BACK TO THE UNWANTED GUESTS:
I have been spraying all the soil with white vinegar every two or three days. It has been keeping the cat away fairly well. It takes 2 quarts to get enough of the vinegar smell to do the job. I have to spray it heavier in the more sandy areas. This cat is determined to use my yard and keeps trying new places to use as a litter box. I am determined to keep it away. I WILL WIN!
The cat finally has no place to go to the bathroom under the trees. We have bought five loads of crushed rock and hauled about 5 or 6 load of river rock from Cindy's yard. I can't thank Cindy enough for all of the rock. We can only haul 1/2 yard of rock each trip. Almost done. Still need one more load of crushed rock and one or two more loads of river rock.
Another view of the rock under the trees. On the left edge is where I have just started a border of rock.
An up close view.
I have some decorative white wire fencing that my husband tied some green plastic fencing material to. Several years ago I used this to go around the asparagus bed for protection. The ground is packed down fairly well, but I found where the cat had tried to go to the bathroom in the the middle of the path so I put the fencing down and separated the two things where the walkway is wide.
A close-up of the picture above.
An open area between the riverbed and the shed is now covered with chicken wire. This was the cat's first choice of places to use as a litter box. This is where the kids like to dig and play also. Wish I would have thought of the chicken wired months ago instead of days ago. I have noticed the bird tracks go along the edge of the wire now. Guess they don't like it either.
This is the cat's second favorite place to use as a litter box. It doesn't seem to like the steep slants. Thank goodness for something. Still spraying the vinegar in the places not covered with wire.
On the hill I am slowly spreading out the pine needles that fall off of our pine trees. Someday the entire hill will have a thick layer of needles. It keeps the cat away, but not the birds.
Another close-up view of pine needles.
Another area with pine needles. Can you see the hole dug by the quail?
A close-up of the hole the quail dug to sit in.
HERE BIRDY BIRDY BIRDY. Just got a quail trap made Monday. Not sure how long it will take for the quail to be willing to go in it. I sure hope Curt wants more quail on his property!
The next project is covering the Elderberry bushes. The birds have eaten all of them for the past 12 years. Now it is my turn to have some. My husband has an idea for making a cover. The berries are on the outside edges of the plant, so just putting a net over the bushes doesn't keep the birds out. We are going to build some kind of structure to go around the bushes and hold the netting away from the plants.
Tiny green berries are starting to form. The birds will start eating them very soon. They don't wait for them to turn purple. They eat them all green.
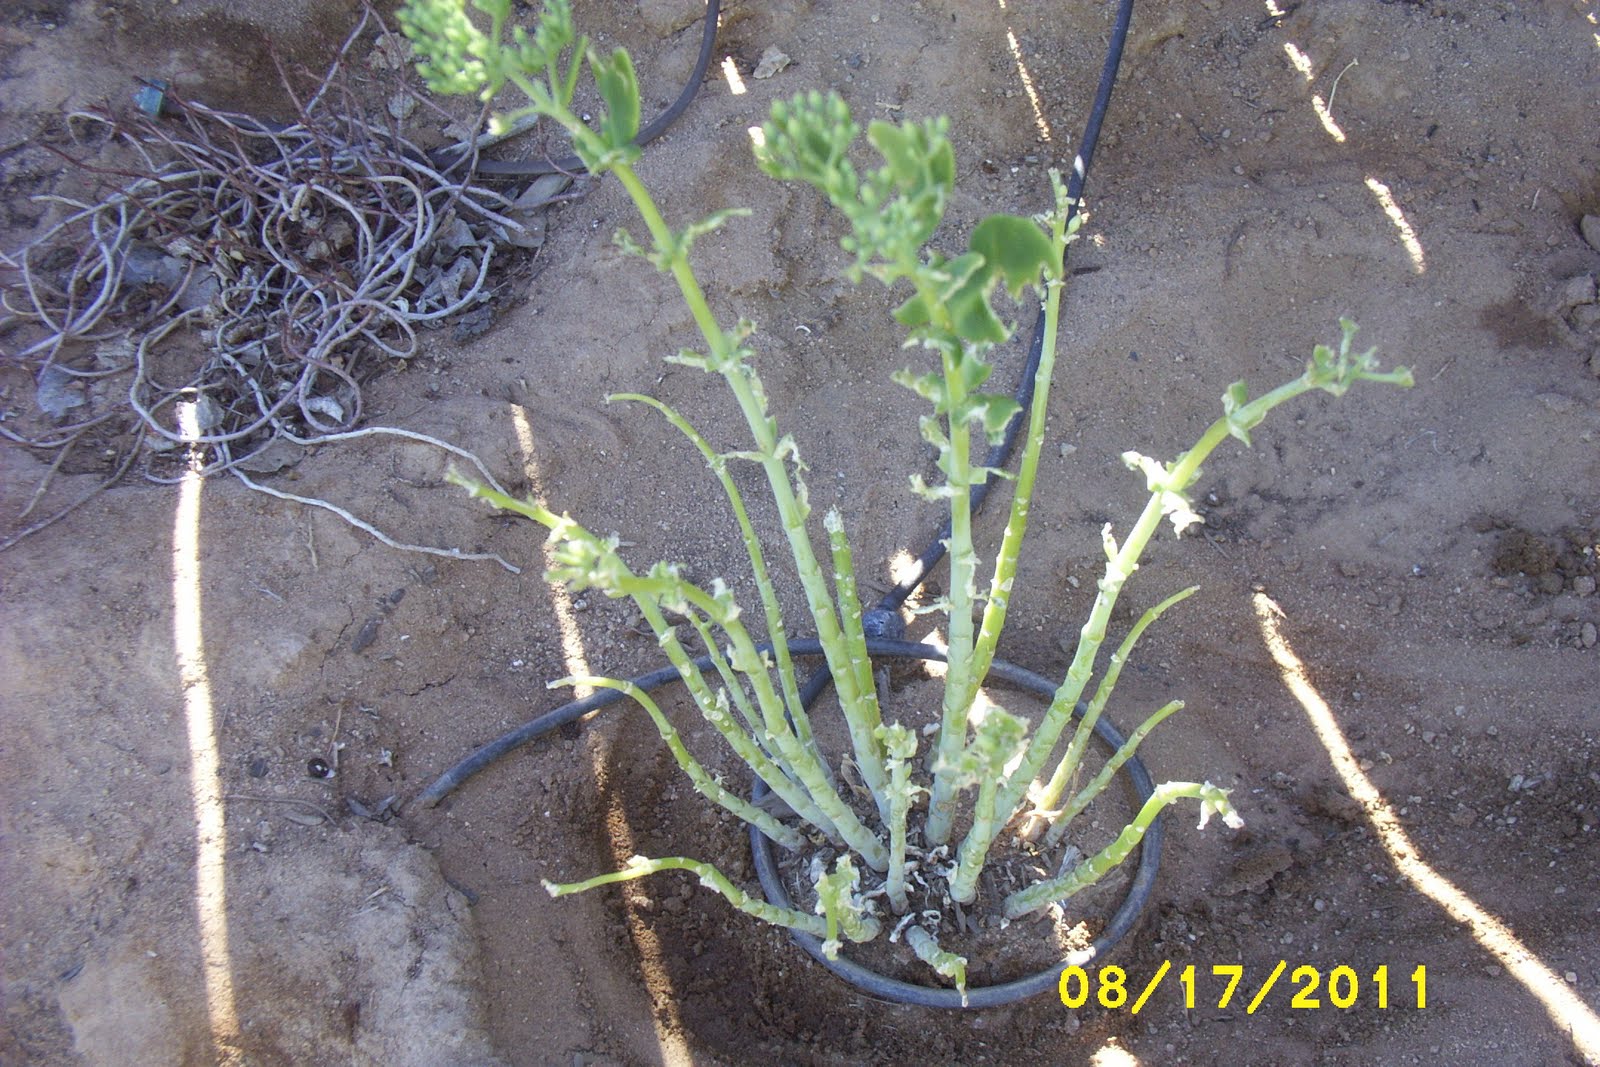
This Sedum has very few leaves. I don't know if the quail, dove, or both are eating this. The Sedum in the background is dead. I think it didn't have a chance, because it was a new transplant that was constantly having holes dug around it and the water never stayed next to the plant.
This Hens and Chicks keeps hanging on even though the birds constantly eat it.
I hope this Hens and Chicks lives. I finally put rock around it to keep the birds from making holes that kept the water running away from the plant. Going to get some wire and cover the Hens and Chicks and Sedum. Oh yeah, another project. I'm sure I need even more!